
How to Set Up a Professional Catering Buffet Display
Setting up a professional catering buffet display takes 15-20 minutes when you have the right equipment and a repeatable process. This step-by-step guide covers exactly how to arrange acrylic display risers for a polished, multi-level buffet that draws guests along the table and keeps food accessible.
What You Need
- Acrylic display risers in 3+ heights (a 13-15 piece system covers most events)
- Serving platters and dishes
- Tablecloth or linen (optional but recommended)
- Your menu items, prepped and ready to place
Step-by-Step Setup
Step 1: Lay Your Tablecloth First
If using linens, lay them before placing any risers. Smooth out wrinkles — they will be visible through clear risers and around the base of white or black ones. For clear acrylic risers, a clean white linen underneath creates a bright, professional foundation.
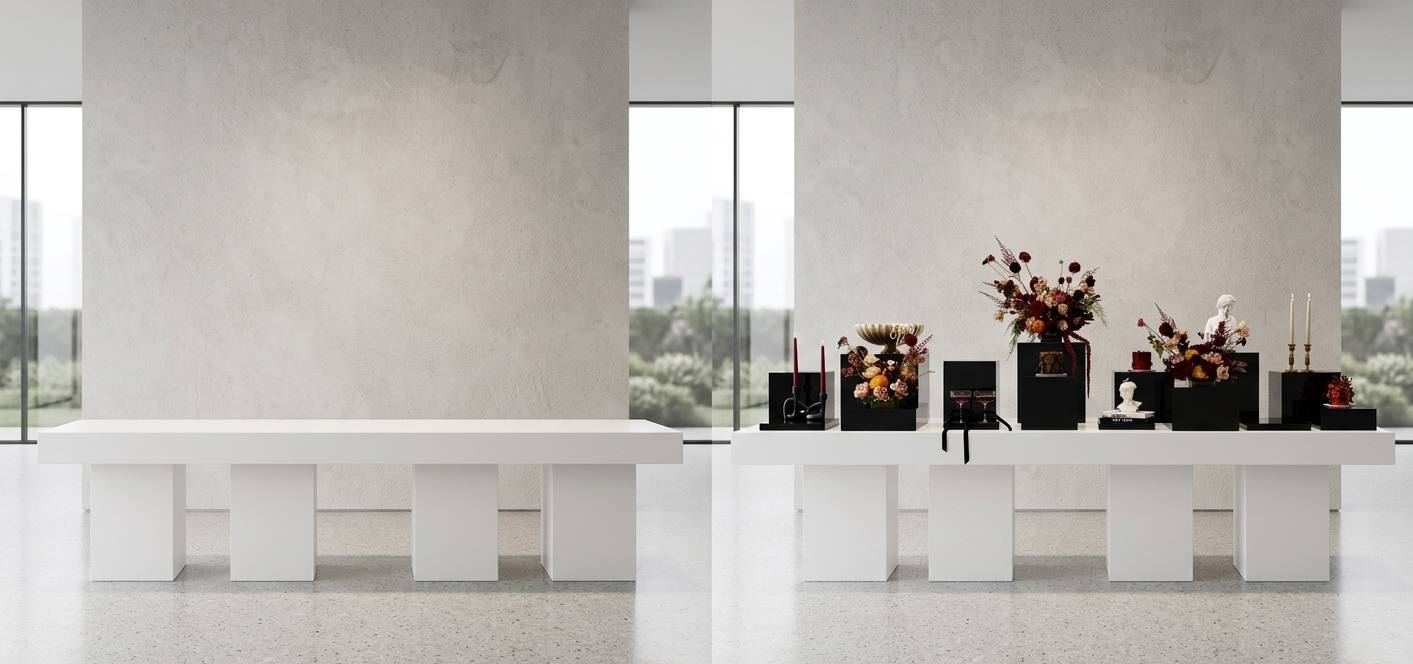
Step 2: Place Your Tallest Risers at the Back
Start with your tallest pieces along the back edge of the table. This creates a height backdrop that makes the entire display visible from a distance. If you are working against a wall, go tall. If the buffet is accessible from both sides, center your tallest pieces in the middle instead.
Step 3: Graduate Heights Forward
Place medium-height risers in the middle zone and low-profile risers toward the front. This creates a natural slope that lets guests see every dish without leaning over the table. The graduated effect is what separates a professional display from a flat table with food on it.
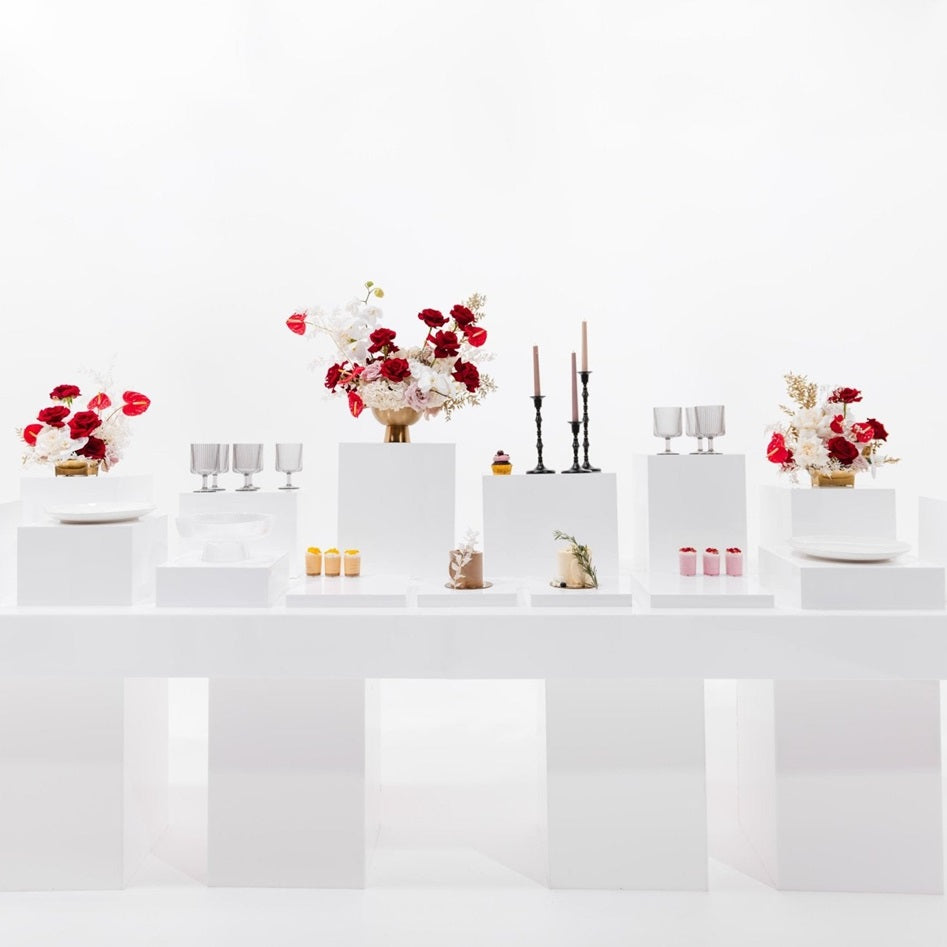
Step 4: Create Visual Groupings
Cluster 2-3 risers together rather than spacing them evenly across the table. Each cluster becomes a "station" — appetizers, mains, desserts, drinks. Leave breathing room between clusters. White space between groups makes the display feel intentional, not crowded.
Step 5: Mix Heights Within Each Group
Every cluster should have at least one tall, one medium, and one low piece. This creates visual depth within each station. A cluster of three risers at the same height looks like a mistake. A cluster with varied heights looks designed.
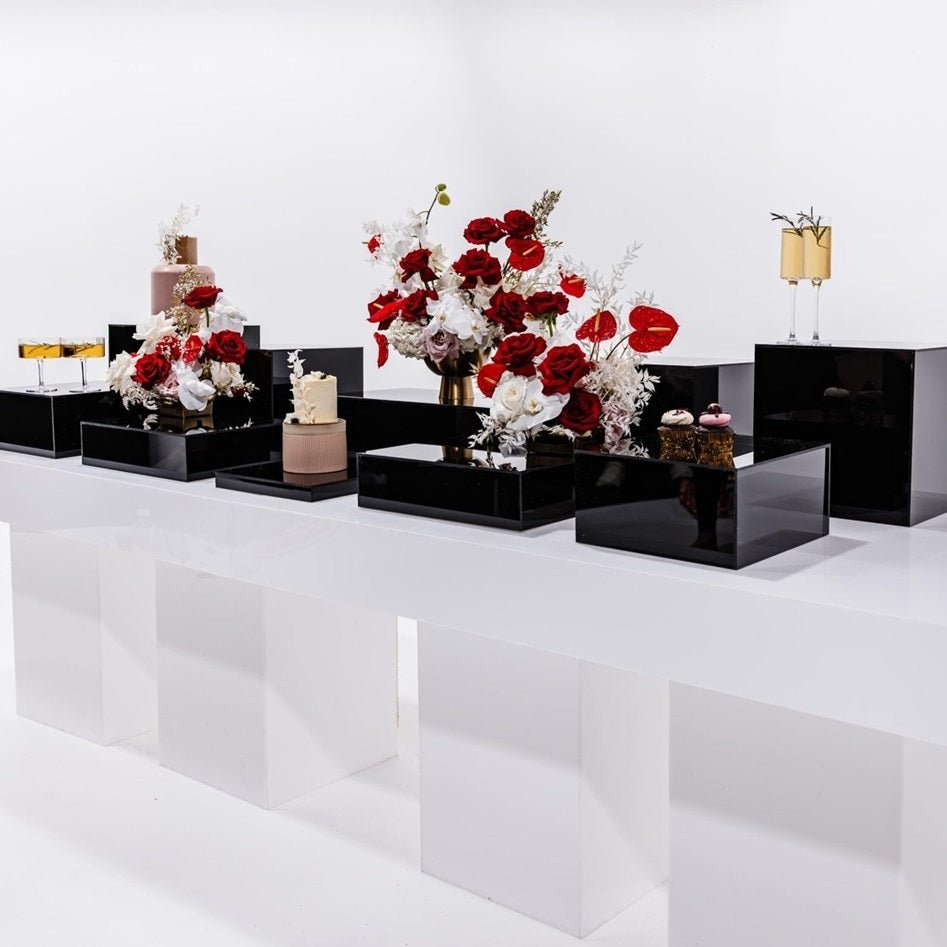
Step 6: Place Hero Dishes on the Tallest Risers
Your signature items — the show-stopping dishes, the centerpiece dessert, the charcuterie spread — go on the highest risers. Height equals importance in a buffet display. Guests naturally look up first.
Step 7: Fill In With Platters and Servingware
Place platters on top of risers. Some dishes can sit directly on the table between riser groups. Not every item needs elevation — the contrast between elevated and table-level dishes adds dimension.
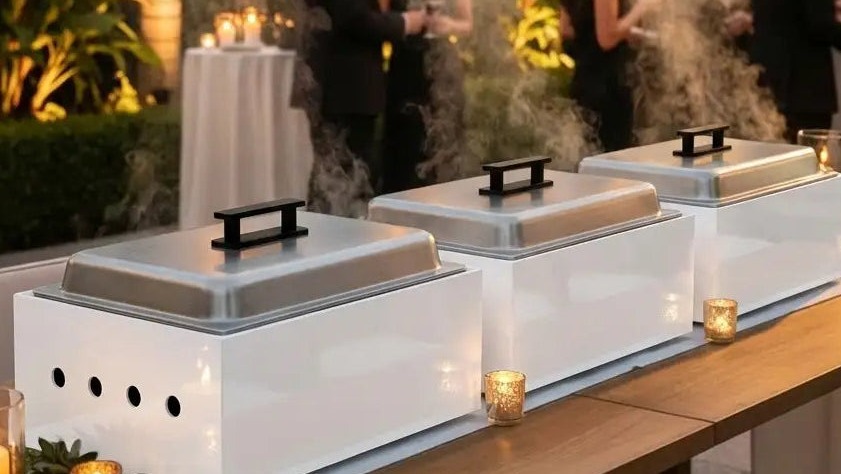
Step 8: Add Chafing Guards Where Needed
For hot stations with chafing dishes, add the magnetic chafing guard chafing guards for food safety compliance. The magnetic attachment means setup takes seconds.
Step 9: Step Back and Adjust
Walk to the guest entry point and look at the display from their perspective. Can you see every dish? Is there a clear visual flow from one end to the other? Are any risers blocking sightlines? Adjust as needed — this final check takes 2 minutes and makes a significant difference.
Common Mistakes to Avoid
- Same height everywhere — The whole point of risers is height variation. If everything is at the same level, you have an expensive flat table.
- Too crowded — Leave space between groups. A buffet that looks overstuffed is harder to navigate and less appetizing.
- Tallest pieces in front — They block the view of everything behind them. Tall goes in back, short goes in front.
- Ignoring the approach angle — Set up from the guest's perspective, not from behind the table. What they see first matters most.
- Mismatched equipment — Wooden crates next to acrylic risers looks inconsistent. Commit to one display system for a cohesive look.
Layout Templates by Event Type
Corporate Luncheon (50-75 guests)
One long buffet table. Place a 10-piece Balance Array graduated from back to front. Three clusters: salads/starters on the left, mains in the center (tallest risers here), desserts on the right. Clean, efficient, professional.
Wedding Reception (100-150 guests)
Multiple stations around the room. Deploy a 15-piece Range set across 4 stations: cocktail hour appetizers, dinner buffet, dessert table, and a drink station. Add a Tiered Archway at the dessert table for a focal point that gets photographed.
Gala Dinner (200+ guests)
Full deployment. Use a 30-piece combo system across 8+ stations. Alternate black and white risers to create distinct visual zones. Place Large Plinths at the entry station for immediate impact.
Get the Equipment
Browse our full range of professional acrylic display risers to find the right system for your catering operation. Every set is built from commercial-grade 5mm acrylic and backed by our 3-year professional warranty.
Last updated: March 30, 2026
Building a buffet for your next event? Explore the full range of acrylic food display risers for catering from Plinths New York.